Introduction
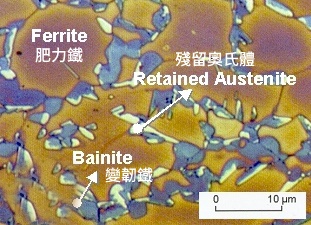
Accurate measurement of the retained austenite levels is important in the development and control of heat treatment process in steel industry.
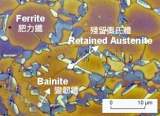
Retained Austenite in Metal
X-Ray Diffraction (XRD) is considered the most accurate method available that can accurately determine retained austenite levels down to 0.5%.
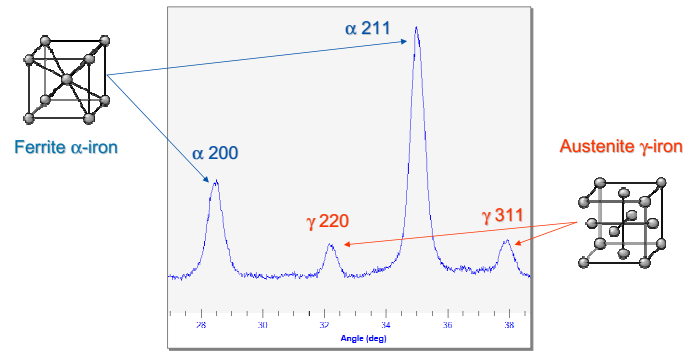
The integrated intensities of the austenite (220) and (311), and the ferrite (200) and (211) diffraction peaks are measured on the AREX diffractometer. The use of multiple diffraction peaks minimizes the effects of preferred orientation and allows interference from carbides to be detected.
AREX Detects 4 peaks to enhance the accuracy
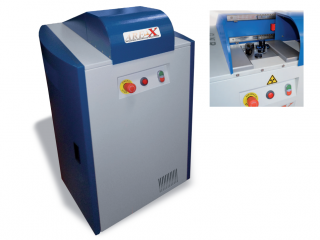
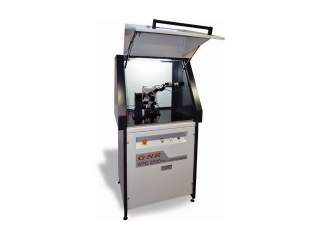
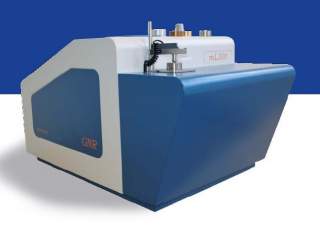
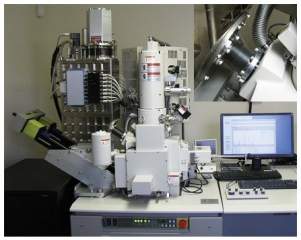
ARE X is a fixed angular range X-Ray Diffractometer equipped with the most modern technical features which grant accuracy, precision, safety and easiness of use, especially designed for quantitative determination of Retained Austenite.
ARE X is the unique instrument able to guarantee compliancy with the ASTM E 975 - 03.
Thanks to ARE X innovative concept, Retained Austenite volume percentage can be measured in few minutes, just placing the sample and pressing start button.
Features
XRD designed for detecting retained austenite
Simple, fast, accurate, retained austenite measurement
Detect 4 peaks at once. austenite ɣ 220, ɣ 311; ferrite α 200, α 211
Applications
Quantitative determination of retained austenite content in heat-treated steels by x-ray diffraction has provided a reliable mean of controlling properties and ensuring quality.
X-Ray Diffraction is considered the most accurate method of determining the amount of retained austenite in steels.
Using "ASTM E 975-03 Standard Practice for X-ray Determination of Retained Austenite inSteel with Near Random Crystallographic Orientation" along with the ARE X, retained austenite issues can be easily monitored and controlled.
| X Ray Generator | |
|---|---|
| [Maximum Output Power 3 kW | |
| [Output Stability < 0.01 % (for 10% power supply fluctuation) | |
| [Max Output Voltage 60 kV | |
| [Max Output Current 60 mA (option: | 80 mA) |
| [Voltage Step Width 0.1 kV | |
| [Current Step Width 0.1 mA | |
| [Ripple 0.03% rms < 1kHz, 0.75% rms > 1kHz | |
| [Preheat and Ramp Automatic preheat and ramp control circuit | |
| [Input Voltage 230 Vac +/-10%, 50 or 60 Hz, single phase | |
| X-Ray Tube | |
| [Type]: | Glass Mo anode (optional, Ceramic Mo anode), |
| [Focus]: | 0.4 x 8 mm FF |
| [Collimation]: | Monocapillary collimator diameter 1-2 mm |
| [Max Output]: | 3.0 kW |
| Goniometer | |
| [Configurations]: | Vertical geometry |
| [Angular Range]: | 27° < 2 theta < 40° |
| [Angular accuracy]: | +/- 0.001° |
| Sample Holder | |
| [Dimensions]: | 110 mm x 150 mm |
| [Detector Type]: | Microstrip solid state |
| Case | |
| [Dimensions Width]: | 658 mm, heigh 1059 mm, depth 762 mm |
| [Leakage X-rays]: | < 1 mSv/Year (full safety shielding according to the international guidelines) |
| Processing Unit | |
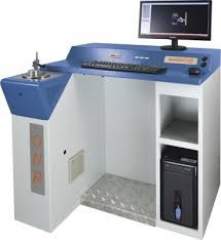
| [Computer Type]: | Personal Computer, the latest version |
| [Items controlled]: | X-ray generator, detector, counting chain |
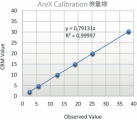
| [Basic Data Processing]: | Creation of calibration curves. Retained Austenite quantification |


